A felt Highland cow is one of those small projects that looks far more complicated than it is. Two simple shapes, a fringe of wool strands and a pair of curved horns, and you have an ornament that reads instantly as the shaggy, long-horned cattle you see on Scottish hillsides.
This tutorial makes one cow roughly 9cm tall — small enough for a Christmas tree, sturdy enough for a gallery wall. Everything is hand stitched, so no sewing machine is needed. Set aside an evening and work at a kitchen table with good light; the pieces are small and the stitches are fiddly in the best way.
What You'll Need
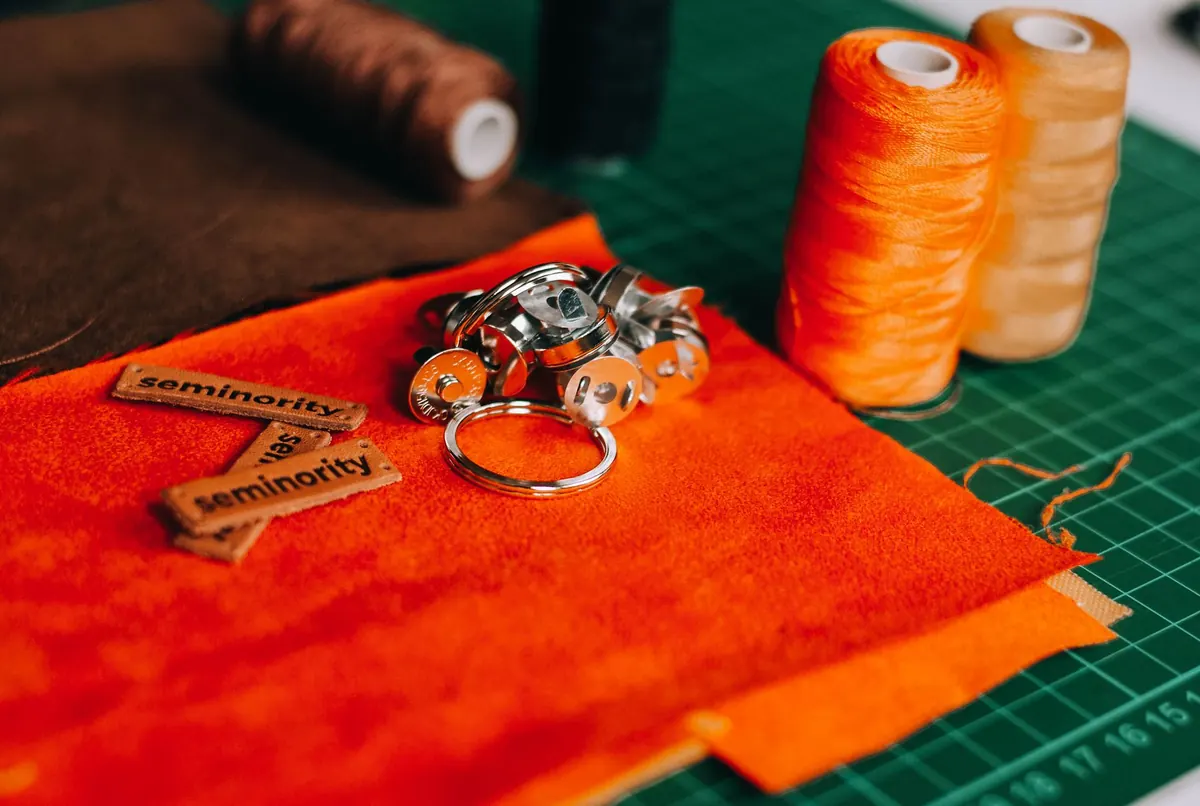
- Wool or wool-blend felt in rust or ginger for the body, head and fringe (a 20cm square is plenty)
- Cream felt for the muzzle, horns and inner ears
- Small scraps of dark brown or black felt for the nostrils and hooves
- Embroidery floss in rust, cream and dark brown
- One embroidery needle, plus a finer beading needle if you're using beads
- Small, sharp scissors with a fine point
- A loose handful of toy filling
- Baker's twine or narrow ribbon for the hanging loop
- Two 3–4mm dark beads for the eyes, or floss if you'd rather embroider them
- Pins, a pencil and a scrap of card for templates
Choosing your felt
Wool-blend felt cuts cleanly, holds a shape and doesn't shed. Acrylic craft felt is cheaper and easier to find, but the cut edges go fuzzy and pale colours can show the stuffing underneath. For an ornament you'll keep, buy the wool blend. If you're making a set of five as gifts, buy it by the metre and cut strips with a rotary cutter.
Making the Templates and Cutting Out
Draw each shape onto card and cut it out, then use it as a guide rather than marking the felt — chalk and pencil smudge on wool. For one cow you need two body ovals about 9cm long and 6cm deep, slightly narrower at one end; one head, a rounded square roughly 5cm wide; one muzzle oval, 3.5cm by 2.5cm; two ears; and two horn shapes about 5cm long, curving gently outward and tapering to a point.
Pin the body template to doubled felt and cut both layers at once so the two halves match. Keep your scissor blades upright as you cut, not angled inwards, or the edges will bevel and your blanket stitch will look uneven. If you want a bigger cow for a door hanger, enlarge every template by the same amount — about 50% is a good size.
Stitching the Face and Horns
Work all the face details before you join anything together; it's far easier to handle a flat head piece than a stuffed body. Whip stitch the cream muzzle to the lower half of the head with small, even stitches, then add two nostrils in dark brown, each just two short straight stitches. Fold the ears in half, tack the base of each one, and pin them at the sides of the head.
For the eyes, place two beads or French knots roughly 1cm apart, sitting just above the muzzle and slightly in from the edges. Position is more important than technique here — sit them too high and the cow looks permanently startled. Blanket stitch around the horns in cream before they go anywhere near the body, then set them aside.
Assembling the Body
- Place the two body pieces together and pin around the edge.
- Slide the head between the layers at the top, then the horns just above it, pointing outward and slightly up. Pin through all the thicknesses.
- Blanket stitch around the whole edge with two strands of rust floss, starting at the bottom and leaving a 4cm gap for stuffing.
- Stuff with small pinches of filling, pushing it into the corners with a chopstick or the blunt end of a pencil. Keep the body soft — overstuffing strains the stitches and flattens the shape.
- Knot a 12cm length of twine for the loop, tuck the knot inside at the top centre, and stitch through it a few times to anchor it.
- Close the gap with the same blanket stitch, knot off inside, and trim the tail.
Adding the Shaggy Fringe
The fringe is what makes a Highland cow unmistakable. Cut a strip of rust felt about 12cm by 4cm. Snip vertical slits every 3–4mm along one long edge, stopping roughly 1cm short of the opposite edge so the strip stays in one piece. Position it across the top of the head, above the eyes, then stitch along the uncut edge with a running stitch, catching the head layer as you go.
Trim the strands to slightly different lengths and cut the ends on a slant rather than straight across — the variation is what stops it looking like a mop. A little fraying is welcome; it adds to the shaggy texture.
Hanging It: Tree, Garland or Gallery Wall
- Tree: a single 8–10cm twine loop is enough. Hang cows among plain baubles so the texture stands out.
- Garland: thread several cows onto a length of jute twine, slipping a wooden bead between each one to stop them sliding together.
- Gallery wall: group three or five in a deep frame against linen or felt, or pin them to a board above a desk. Vary the felt colours — rust, charcoal, cream and a soft grey all work — so the set looks collected rather than mass-produced.
Finishing, Fixing and Caring for Your Cow
Dust the felt with a soft brush or a hairdryer on the cool setting. Store ornaments flat in tissue paper rather than crushed into a box, and keep them away from damp and direct sunlight, which will fade the colours over a few seasons.
If a fringe strand works loose, add a dot of fabric glue at its base and a quick tack with matching thread. If you've used beads for the eyes and the ornament hangs where small children or pets can reach it, check the stitching at the start of each season — or swap the beads for embroidered French knots, which are secure and completely child-friendly.
Photo: rakhmat suwandi / Pexels