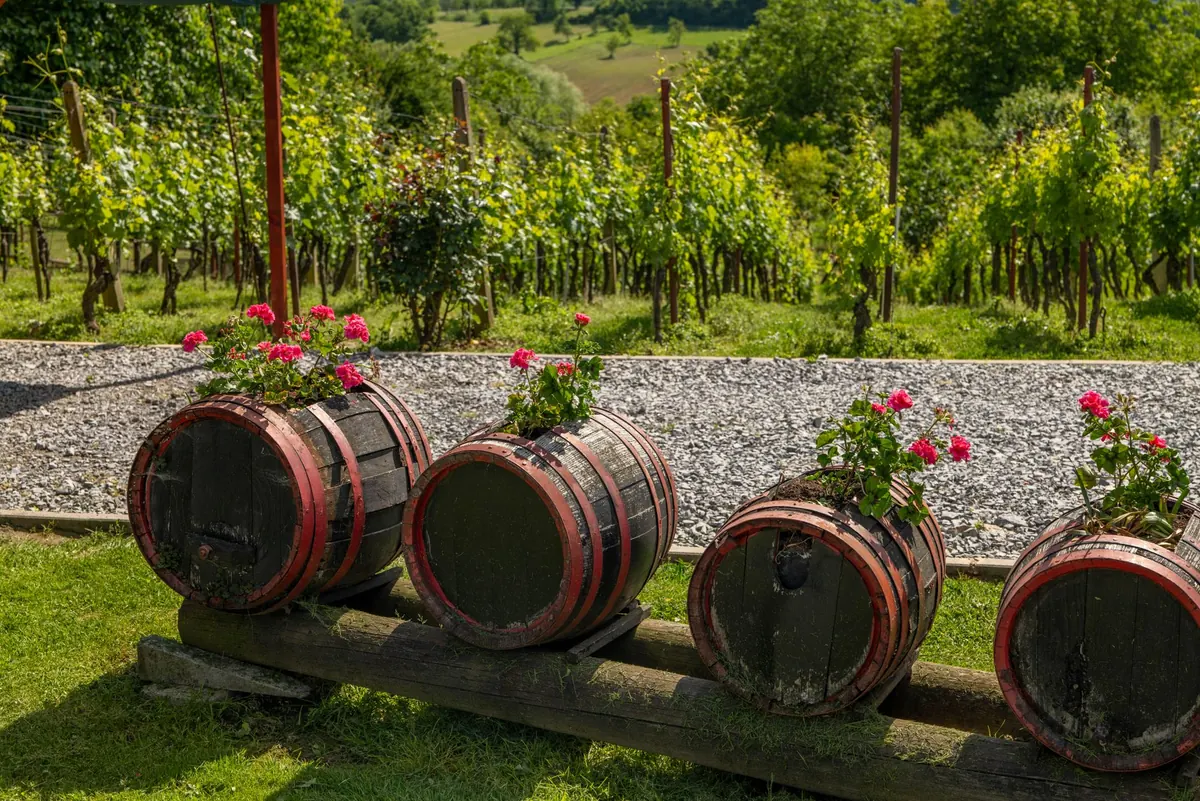
A whisky barrel has a life long before it reaches your garden. By the time a cooper retires one, the oak has spent years holding spirit, gathering colour and character, and developing the grey-black patina that no new timber can fake. Set upright, cut in half, or left whole, it makes a generous planter that suits a cottage front garden, a courtyard or a bare patio corner.
They are also heavier and more awkward than they look, and they come with a few quirks that catch people out — leaking staves, mystery contents, no drainage. None of it is difficult to sort. With an afternoon, a drill and a bag of compost, you can have a barrel planted up and looking settled within a weekend.
Where to find a barrel
Start local. Garden centres and reclamation yards often sell retired casks, and independent distilleries sometimes pass them on directly. You will also see them advertised on marketplace sites, where the range of condition is wider and the photos rarely tell the whole story.
Whisky barrels are typically American white oak, held together with metal hoops. Some are charred inside, which is normal and harmless. What matters more is whether the staves are tight and the hoops are sound. Bring a few questions with you, or ask them by message:
- Has the barrel been stored dry, or left standing in the rain?
- Are the staves cracked or springing apart?
- Does it still smell of spirit, damp, or something less pleasant?
- Is it a full barrel, or already cut in half?
A whole barrel gives you the tallest, most dramatic planter and can be cut down yourself if you want two. A half barrel — often sold as one — is easier to move and already at a workable height. If you need to transport a full one, remember it may weigh a good deal more than you expect, so take a friend and a trolley.
Preparing the barrel
Before anything else, empty it. Tip out any loose debris, swill it with water and let it drain. If the inside is heavily charred, you don't need to scrub it back to bare wood — a stiff brush is plenty. Leave it to dry in the sun for a few days. Dry staves tighten up, and any lingering damp smell fades.
If the barrel is still banded and holding its shape, leave the hoops alone. Rusty hoops are part of the charm; if they are loose enough to slide, tap them down gently with a mallet. Only remove a hoop if it is genuinely falling off, because it is the hoops that keep the staves pressed together.
Drainage first, always
This is the step people skip, and it is the one that decides whether your plants survive the winter. Drill holes through the base — a 10mm bit is a good starting point, spaced evenly to give you roughly eight to twelve holes across the bottom. If the base is genuinely inaccessible, drill a row of holes just above the base on the sides instead, though you will lose a little soil depth.
Then add a drainage layer: two to three inches of gravel, broken crocks or coarse bark. Some growers skip this and simply use a free-draining compost, but in a barrel that holds a lot of water, the extra layer protects roots during a wet British winter.
Sealing and treating the wood
Oak barrels are tough, but the outside will keep weathering. You have two sensible options, and it is worth deciding before you plant, because some finishes are easier to apply to an empty barrel.
- Leave it alone. Untreated oak will silver and soften over time. It looks lovely for a few years and then begins to feel tired, especially in a damp corner.
- Oil the outside. A garden-safe exterior oil or timber preservative, applied to the outer surface only, feeds the wood and slows water uptake. Two thin coats are better than one thick one. Wipe off any excess so it doesn't stay tacky.
Keep treatments away from the inside surface where the compost sits. If you want to protect the wood from soil moisture, a liner does that job better than any coating. A piece of landscape fabric or a length of pond liner, cut to fit loosely and pierced at the drainage holes, keeps wet compost off the staves while still letting water through. Avoid sealing the inside completely — trapped moisture rots timber faster than damp air.
If the barrel has come from a source you don't know and still smells strongly of chemicals or fuel rather than spirit, don't use it for edibles. Set it aside for ornamentals at most, or pass it on.
Filling and planting
Use a good-quality peat-free multipurpose compost, and mix in some garden compost or well-rotted manure for body. A half barrel takes a surprising volume — have more bags on hand than you think you need, and keep the receipts.
Think about what the barrel asks of its plants. A half barrel is roughly waist height, so anything in it sits closer to eye level than a border does. A whole barrel, planted at ground level, is a tall display. Watering is frequent in summer because a barrel dries out quickly from the sides as well as the top.
Planting combinations that work
For a sunny patio, try a central upright shrub such as a small bay, rosemary or a dwarf buddleia, underplanted with trailing lobelia, nasturtium or ivy. For shade, ferns, hostas and heuchera fill a barrel beautifully. In a front garden, a clipped box or yew in a half barrel reads as a formal statement, with winter pansies or spring bulbs tucked around it.
If you want edibles, herbs are the easiest win: thyme, sage, oregano and chives all like the sharp drainage a barrel provides. Avoid tall vegetables that need deep, consistent moisture, and consider whether the wood's tannins might affect very acid-sensitive plants.
Plant at the same depth the plants sat in their pots, firm them in gently, and water thoroughly. If the compost level settles by more than an inch over the first few weeks, top it up.
Caring for it through the seasons
Watering is the main job from late spring through summer, and in a hot spell a barrel may need a can every day. A saucer or a ring of gravel underneath stops the base sitting in a puddle. In winter, ease off entirely — soggy compost is far more dangerous than dry compost in cold weather.
Feed container plants with a balanced liquid feed every fortnight or so during the growing season, since compost nutrients wash through quickly. Replace the top couple of inches of compost each spring, or repot entirely every two or three years when growth slows. If the staves begin to shrink and gaps appear in a dry summer, don't panic — the wood usually swells again once it is watered. A coat of exterior oil every couple of years will keep the outside looking its best.
Set a barrel on a firm, level surface rather than bare soil, so it doesn't sink and rot. Position it where you can reach it easily: a planter that is hard to water will be a planter that is rarely watered.
A last word on setting it up well
The difference between a barrel planter that looks like a keeper and one that looks like clutter is mostly preparation. Drainage holes, a decent liner, good compost and a spot with the right light do more than any clever planting. Buy the barrel in person if you can, cut and drill it deliberately, and give it a proper soak before you plant. Get those things right and a retired cask will earn its place on the patio for years.
Photo: Vladimir Srajber / Pexels